
Hi everyone! I have a super exciting update to share with you guys today! Remember when I went through my plans for the office, and I mentioned I wanted to turn my closet into a craft space? Well, that transformation has officially begun! And today I get to share with you a first look into my closet turned craft closet.

If you follow me on Instagram, you saw when I picked up a couple of Recollections organizer cubes from Michael's last week. Since I have had this craft closet plan in my head for months now, I decided it was time to pull the trigger when this entire line went on sale for 40% off.
I figured I would need four cubes total, and I already owned one, so I picked up three new cubes at the sale price. When all was said and done, I ended up with 4 unique styles of cubes, so I had a variety of organization options (shelves, drawers, etc.)
Last time I shared my full office with you guys, the closets looked something like this:

Mostly just junk shoved in there. It was certainly not set up to make the most of the available space, and a lot was being wasted. The purpose of adding an additional workspace into this closet was to make sure these closets were really pulling their weight in storage and organization.
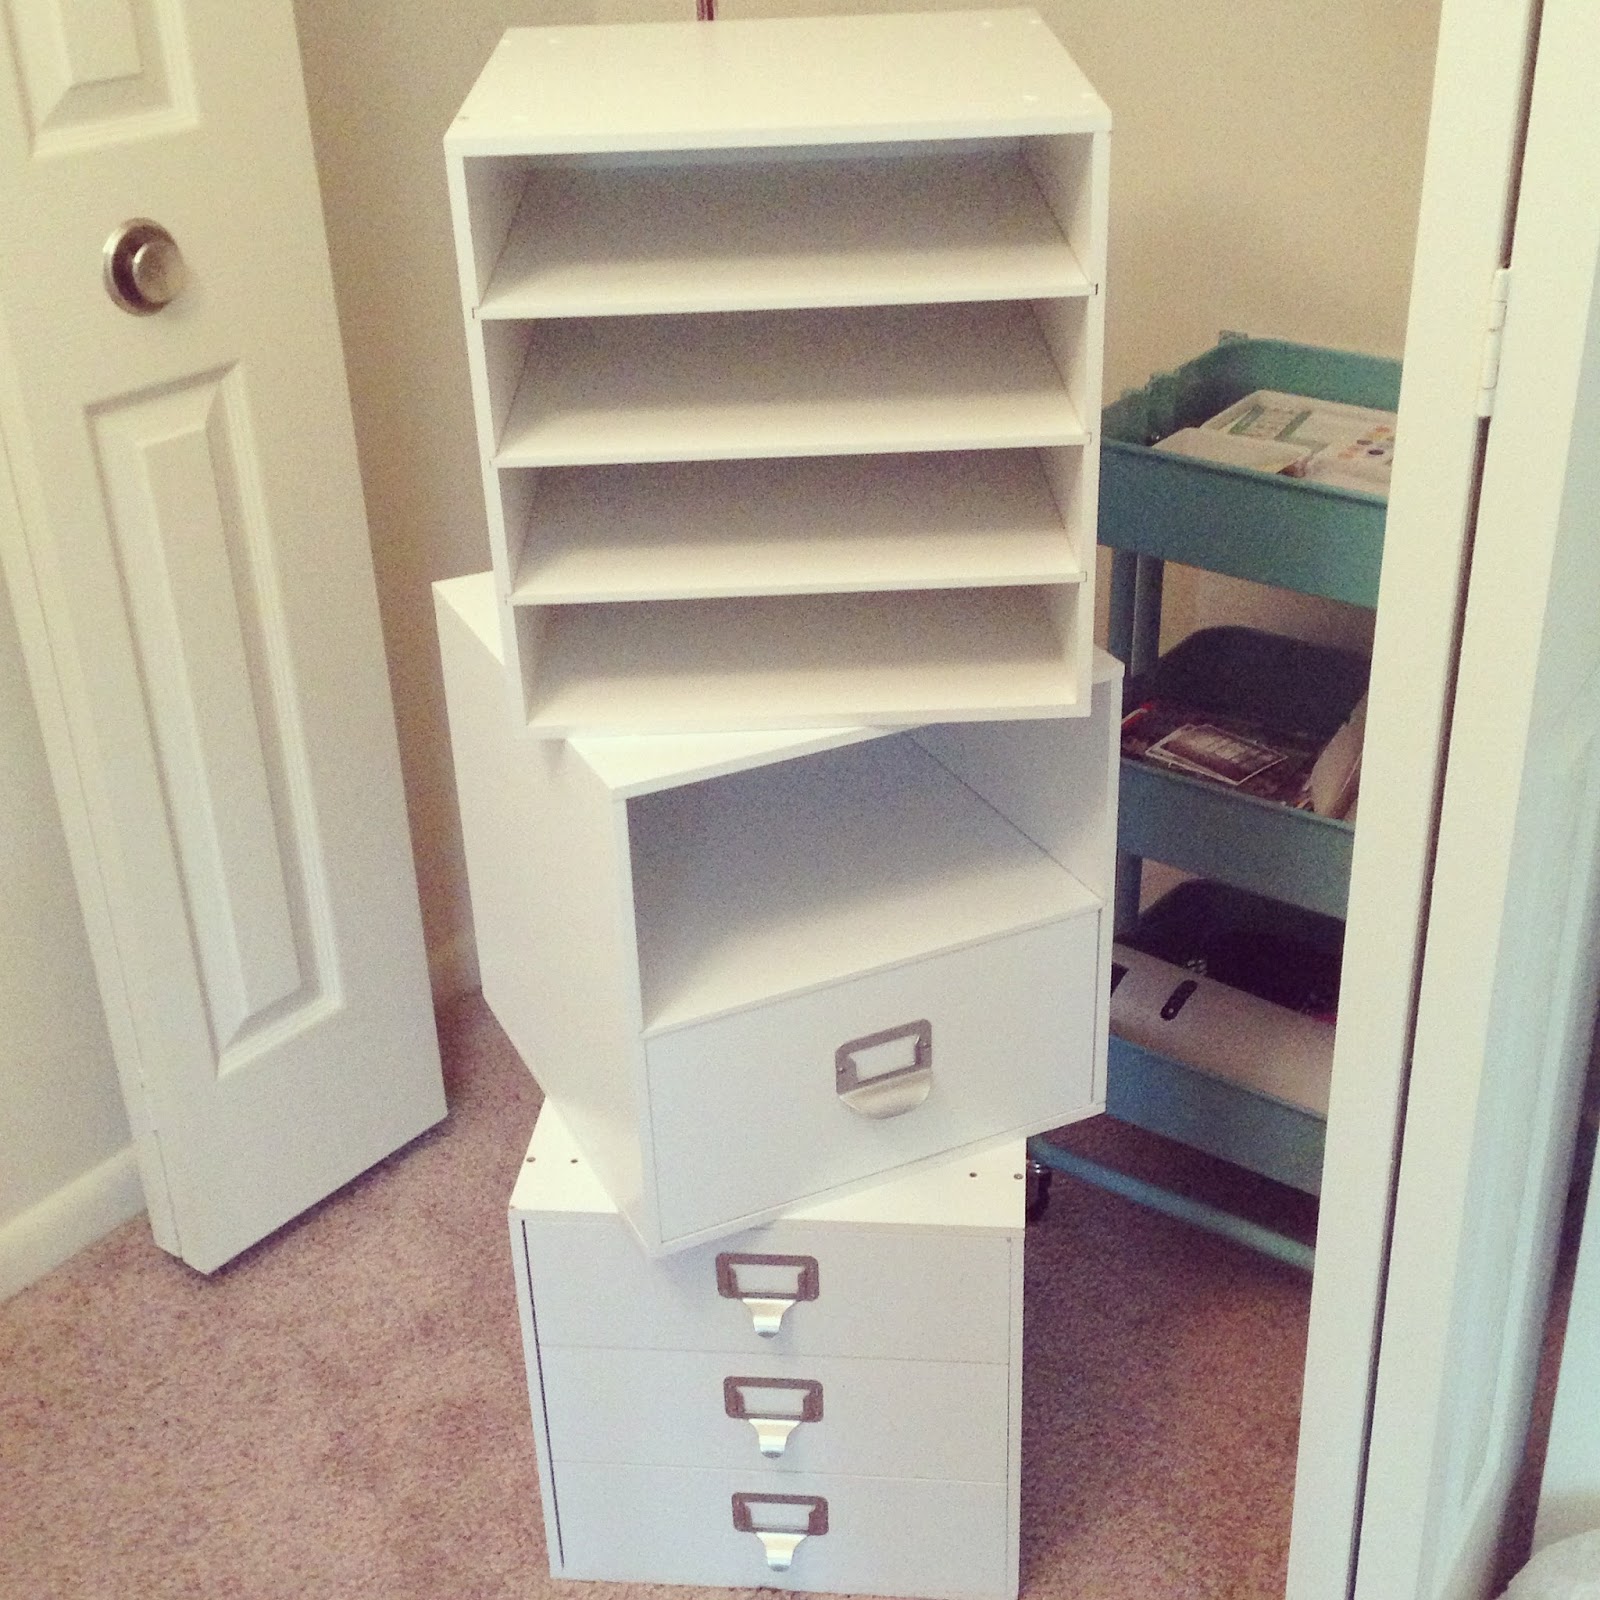
So after I brought home the new cubes, and got them all put together, it was time to set everything up in my new craft closet. So now, my side of the closet looks more like this:

So much better! I still have a few things I want to do before this craft closet can really be considered "done", but for now, I am just so excited to have a real solid start going on.
Eventually I would like to connect the two towers of cubes with a desk surface, and add a stool or chair to make it a real workspace. Since I want the desktop to go over the Raskog cart, I will need a way to lift it off the cubes a few inches (as you can see they are slightly shorter than the Raskog). This shouldn't be too hard to setup with the help of some simple wood spacers placed between the desktop and the organizer cubes.

I am loving how much additional crafty storage I now have. Before, I never really had a dedicated crafting space. All my craft supplies had to share my office space with all my regular office and blog stuff. I love that I can now separate the two functions of my office into separate and dedicated spots.

One of the things I was just most excited about gaining was a real scrapbook paper organizer. Previously I had been using a dinky little plastic letter sized paper tray, and it just was not working for me anymore. Now my paper fully fits, so there is no risk of bending or smooshing.

I also love that my Raskog cart will have a dedicated "parking" spot when it is not in use. Ever since I bought it, my Raskog has turned into an unofficial Project Life organizer (for random odds and ends without a real spot) so it only makes sense that it's home be in the craft closet.
I almost moved my desktop pen organizer into my craft closet. Previously it was sitting on top of my Alex drawers, but I thought it would be more useful in this space. I may end up switching out some pens though, so the more "officey" pens are stored over on my desk, and any "crafty" pens or markers can be stored in the craft closet.

I'm also planning on setting up a more organized system for my ephemera. At the moment, all the doo-dads and memorabilia I am planning on including in my Project Life spreads are shoved in that little green box. It isn't organized in any fashion, and I have to pretty much sift through everything any time I need to find a particular memento for a layout.
Another thing still on the to-do list is tackling the shelves at the top of the closet. I didn't do too much to them when getting things set up, so they're pretty much still a hot mess. This will eventually change, since I want them to be an extension of the crafty storage that now sits below them.

One final idea I've been playing with for adding to my new craft closet is adding pegboard to the back wall. I definitely want to use up every inch of available space, and I think adding some peg board to maximize that wall space may be my answer.
Now that I moved a bunch of stuff from the office into the closet, my desk area in looking quite different as well. Here is how it looked before everything got ripped apart and moved around:

The first thing to change was the whole setup on top of my Alex drawers. That was my previous "craft station". Pretty much all of that stuff got moved into the craft closet. This freed up room for me to move my Silhouette onto a larger dedicated surface.

Since the Alex is still very accessible from the closet, I am still planning on storing a few crafty things there. Since I like having my Silhouette setup and ready to go whenever I need it (as opposed to having to pull it out each time I wanted to use it), storing it on top of the newly cleared Alex was the perfect solution. I also still have some crafty things stashed in the drawers, with plans to super organize them sometime in the future.
The other dramatic change to the office is the removal of the bookcase! The bookcase was holding a few useful things (all of which got a new home in this process) and a bunch of junk. So after a lot of relocating and sorting and purging of things, the bookcase was empty and able to move out of the office.

This opened up some additional wall space, which is now currently occupied by our printers. Melissa and I have been chatting about the possibility of DIYing a huge chalkboard to lean up against this sliver of wall, but that's still in the discussion phase. For now I'm liking how much more open things are feeling after this big transformation!
And in case you're wondering, the bookcase got a new home downstairs in the living room. It simply took the place of the old wooden bookcase that used to be there. This is not a long term arrangement, as we're still planing on purchasing two tall and matching bookcases to flank the TV console once funds allow. But since the new bookcases will be white and have the same basic look, this setup is a lot closer to our end ideal that the old wood bookcase was.

There were a lot of changes around here that all stemmed from bringing home a couple organization cubes! I love when that happens with a project. One thing leads to another which leads to another, and you have a whole slew of new things going on!
In this case I also have a few things added to my to-do list for the office. Which I just realized I never officially shared with you guys!! So here is the to-do list for the office, as it currently stands:
Finalize furniture placement(changes one and two)Fill wall above Melissa's desk(calendar, shelf)Buy storage cubes for craft closet- Add desk top and chair to make craft closet into a workspace
- Possibly line craft closet wall with pegboard
- Organize craft closet shelves
- Organize Melissa's office closet
- Hang style tiles board
- Hang inspiration frame gallery above my desk
- Organize Expedit shelves
- DIY chalkboard
- DIY photography station
- Organize Alex drawers
This list is definitely a little lengthier than the other rooms, but that is because we have big plans and dreams for this room. The office was one of the things we were most excited about gaining when moving here, so we have been talking plans for a long time with this one. I'm thrilled we've begun to make progress on moving this room towards becoming out dream workspace!
What do you think of my new craft closet? What would you do to pimp it out? As always, I love getting your suggestions, you guys always have the greatest ideas! Shout out your tips for this space in the comments below.
Very nice!!!!!
ReplyDeleteThank you so much Christi!
DeleteI just LOVE the color of your Raskog cart & you probably have the cutest dog EVER! Great job :D
ReplyDeleteThanks Sara, so glad you liked it! Dakota says thank you as well :)
DeleteWow such a great space!
ReplyDeleteThanks Miriam!
DeleteLove it and very jealous of your organisation!
ReplyDeleteThank you Mel! And anyone can be organized :) what do you struggle with organizing the most?
Delete