
Wow is it week 7 already? Just kidding. It's week 34, and I'm 27 weeks behind. Don't you ever wish time could just stop, so you could catch up on Project Life and then just press "resume" on all your memory making? Yea me too. Only way to get it done is to just get it done though, so I'm going to keep on crafting, and trying to slowly close that 27 week gap!

For my week 7 spread, I decided on a color palette of light blues and yellows. I also decided I needed to actually start using some of the pretty Studio Calico cards I've been quietly hoarding since I started my subscription. So those two requirements were my jumping off points.

I thought this lovely 'hello' card was a perfect fit for a title card. And I am a huge typography and hand lettering nerd, so this scripty font just completely spoke to me. I added in the week number using some of my DIY alphas, and backed it with a fancier label to match the 'theme' of this card. I stamped the dates on a simple gray label, and added a wood veneer arrow in between the dates. I also sprinkled around some clusters of paper flower cut-outs that I made with a punch and various patterned papers.
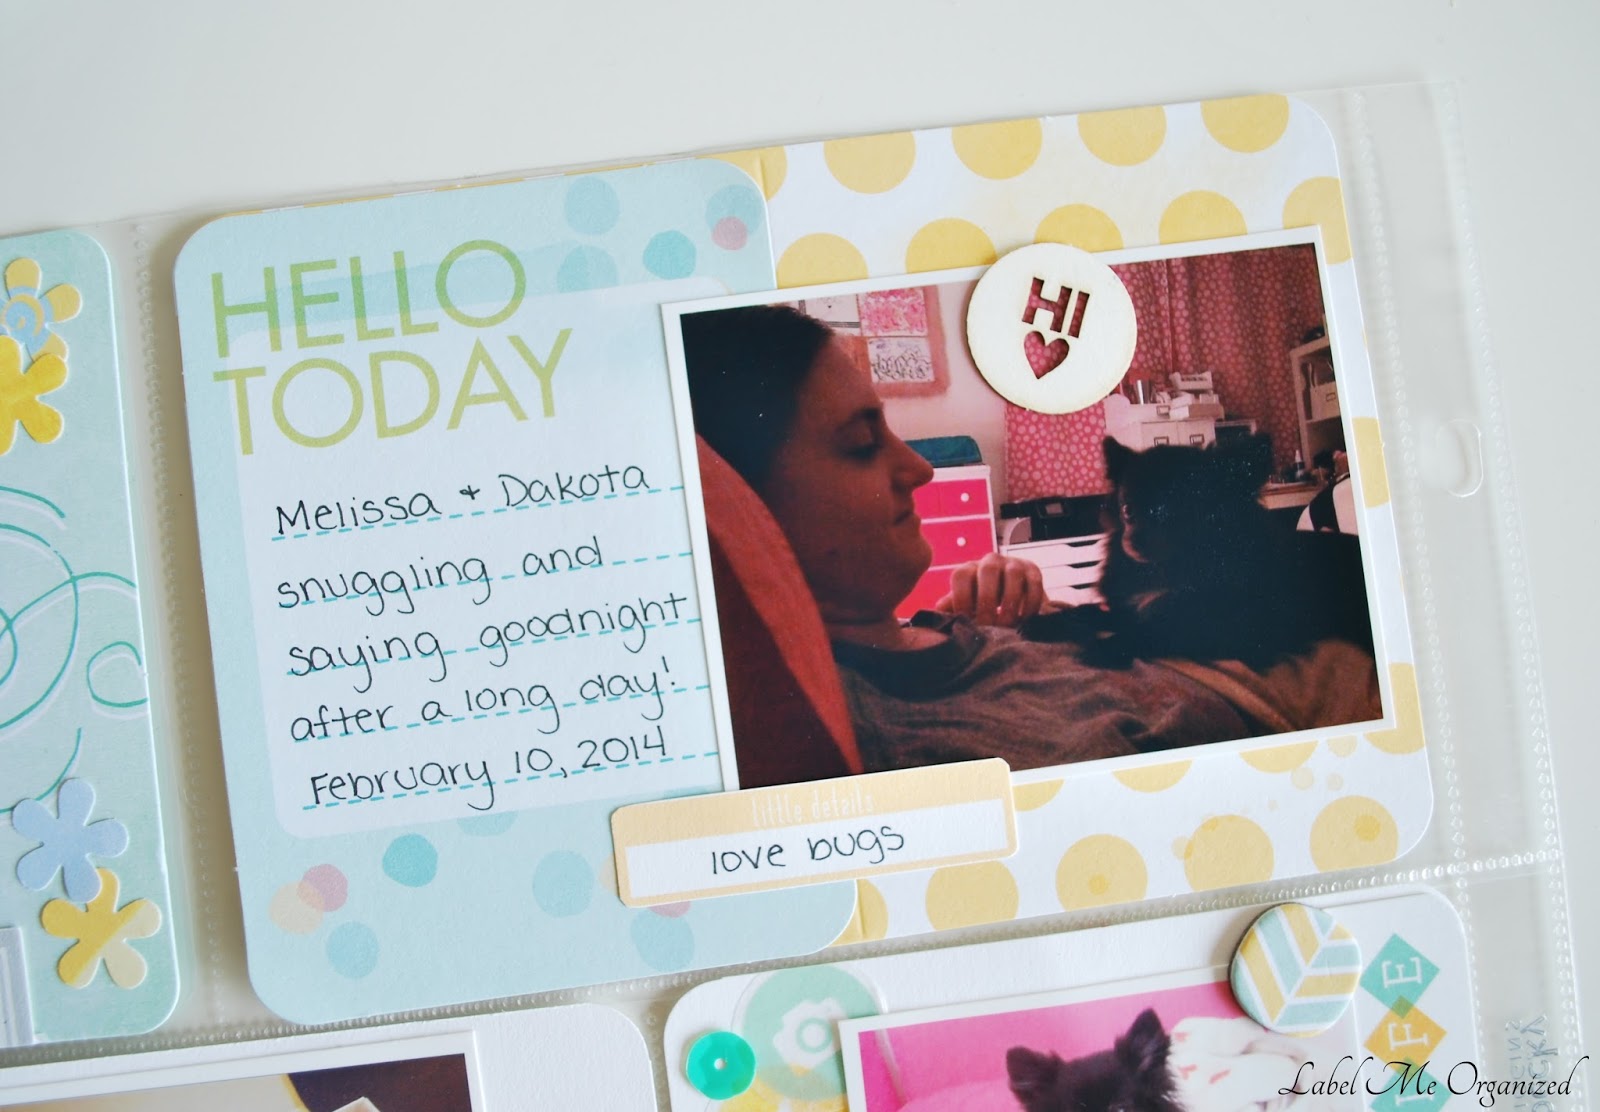
I layered two separate cards to fill this pocket, one 4x6 and one 3x4. The label at the bottom of the picture says 'little details' along the top, which is hard to see in the picture, but 'pops' a bit more in person. This picture of Melissa and Dakota is a little darker than I wish it were. It always seems those sweet spur of the moment memories always happen in low lighting!

I had a lot of fun with this card. I started out by printing the entire screen shot of a text conversation Melissa and I had talking about our new apartment. I then fussy cut the picture around each of our speech bubbles. I then attached the texting speech bubbles onto the 3x4 speech bubbles card. I finished things off by hand lettering a title in the large middle bubble, and adding a few embellishments. Then the whole thing was mounted onto a 4x4 plain white piece of cardstock, so it would fit into it's designated pocket.

Of course I had to include the monthly excitement that is the arrival of my Studio Calico kit! I again used a 3x4 card, and attached the card and picture onto a 4x4 piece of cardstock. I finished off this pocket with some round, yellow embellishments placed in the center of the doilies printed on the 3x4 card.

I was just all about fitting 3x4 cards into bigger pockets with this layout apparently, because I did it again for this one with the Hello Sunshine card. I just found all these adorable cards in my SC stash that I wanted to use, but I didn't have any 3x4 slots in this page protector. So I just had to improvise! I also snipped off the edge of another 3x4 card to get the 'what a life' embellishment to go up the side of this pocket. I finished off with a few sequins, a chipboard sticker, and a few circular washi stickers from an SC kit.

This is another card I had a lot of fun making. I again used a 3x4 SC card (on the left) mounted on a white 4x6 piece of cardstock. I embellished the 'time for snuggles' card completely with stamps that all came in SC kits. First I stamped solid triangles in yellow, then went back over them with criss-cross triangles in black. I then finished off with adding in the 'you are so loved' stamped saying. I just love how this turned out. I believe this was my first real attempt at layering stamps, and I am kind of hooked.

For this slot, I started with a plain base of white cardstock, which usually scares the bejesus out of me, but I had an idea of where I wanted to go with it. I used some more of those paper flower punch-outs that I included on my title page. I simply arranged them in a pretty loose pattern filling up the right side of the card. I have recently discovered Paige Evans, and just love what she does with punched patterned paper. So this was my first, kind of sad, attempt at using her technique. Hoping I'll improve with practice!

For all the 3x4 slots I lacked on my first page, my second page more than made up for it. Using a Design F page protector let me use all the pretty 3x4 SC cards my heart desired!

The shining star for this card goes to the amazing stamp at the top. I have been craving this stamp for months and months, and finally came across one for sale in a PL shop & swap Facebook group. I was so giddy when it came in the mail I had to use it right away :).
I'm clearly still getting used to using longer stamps (as evidenced by the gaping holes in parts of my image), but since it didn't effect any of the slots I needed on this card, I simply let it be. I also lined the bottom of this card with washi tape, added a mailing tag top hold my DIY alpha title and a cute chipboard embellishment.

This photo on the left just cracks me up. Despite her Husky heritage, Dakota is not a snow dog. We got a lot of snow this particular week, and every time we went outside I would get this look from her. A look of utter disgust and disdain, like "Mom, why are we out here in this?". I was able to pack her into two layers of jackets, but she drew the line at boots... even though I told her they would help keep snow from getting stuck between her toes. What are you gonna do?
I embellished that card with a triangle of patterned paper, an 'ugh' rub-on, and a puffy sticker to show the day. I kept it simple for the picture on the right with a simply label caption and a button.

I loved the Sugar Rush SC kit, and so naturally it got two pictures in this week's layout. One when I received it, and one when I really opened it up to play. Since this picture was horizontal, it wouldn't fit in a single 3x4 pocket. So I snipped about half an inch off of the right of the picture, and let it overlap into the next pocket.
For the card on the left, I fussy cut around the bottoms of the letters so I could layer them over the photo. This way you could still read the word, and appreciate the full swirliness. For the card on the right I title it with the kit name in my DIY alphas. I then added a grouping of mini brads to each card to further tie the two together as a 'unit'.

I love helpful memory keepers. Melissa gladly hopped into the snow so I could record exactly how deep the snow was that day. She thought I was a little crazy, but I love that it shows the snow was up to her knees, since we don't usually get that much here in Baltimore! I added the date to this picture on the other half of the fancy label used on the title card. Waste not, want not. I also stamped and cut-out the yellow banner, then layered the 'made by' stamped caption. I told you, once I figure out a new technique, I am all-freaking-in.
The card on the right holds a QR code linking to a video of Dakota further exploring the massive amounts of snow. I framed the code with some blue cardstock, then added some mini brads onto the center of a few polka dots. I added the 'I love right now' banner title, and snipped off the part that went over the edge. I then added that mini pendant edge to the side of my QR image, just for a little extra flair and emphasis.

With this couch picture, I again ran into the problem of a horizontal picture needing to fit into a 3x4 slot. Since this picture really didn't need two pockets, I simply trimmed off whatever of the edges didn't fit. Still a picture of a couch, still gets the idea across. I used lots of printable embellishments on this one, with one teeny tiny enamel dot added in there.
The card on the right was pretty much chosen to fill up that space since I didn't have a picture for it. It's a simply calendar card, that I embellished with the same patterned paper I used for the flower cut-outs. I simply cut down teeny tiny little squares from each of the papers to fit inside the day squares in the calendar that corresponded to week 7. Love the idea of this card, not so much with the execution. Still feel like it could use a little more something, just not sure what.

The card on the left was kept very simple with a few sequins and a title banner that came in an SC kit, since I just wasn't feeling it with this pocket. Since I'm trying to catch up on Project Life, if I ever get stuck on a card or don't feel inspired, I try not to kill myself to come up with something. I just leave it for what it is and move on. I'll never get caught up if I force myself to try to make something amazing when I'm really just drawing a blank.
The card on my right is letting my fan-girling show a little bit. A lot of you already know Cathy Vee, and like you, I have been a fan of hers for quite sometime. If you haven't heard of her, she is a planner and Project Life genius. So I may have squealed a little bit when this notification popped up on my Instagram.
To embellish this card, I lined it with some stripes of washi tape behind the photo. Then I added some journaling on a shipping tag. I finished this pocket off by backing that cute little wood veneer triangle with some yellow cardstock, to make the letters pop a bit more.

And voila! Week 7 is in the books. Well sort of... I'm still working on an insert for this layout that I'll be sharing next week. Because duh, week 7 was Valentine's day! So make sure to check back next week to see the rest of this spread.
Who else likes to color outside the lines and use 3x4 cards in non-3x4 pockets? I know there must be a couple other Project Life rebels out there! What do you do if you're feeling uninspired on a particular card? Do you just do what you can and move on? Or do you focus until a light bulb goes off and you've found a solution? I'd love to hear your thoughts in the comments!
No comments:
Post a Comment
Note: Only a member of this blog may post a comment.